This guide details how to install and use EmuDeck to play Sega Game Gear games on your Steam Deck, including optimizing performance and troubleshooting potential issues. We'll cover everything from initial setup to fixing common problems after Steam Deck updates.
Quick Links
- Before Installing EmuDeck
- Installing EmuDeck on the Steam Deck
- Transferring Game Gear ROMs and Using Steam ROM Manager
- Resolving Missing Artwork in EmuDeck
- Playing Game Gear Games on the Steam Deck
- Installing Decky Loader on the Steam Deck
- Installing the Power Tools Plugin
- Troubleshooting Decky Loader After a Steam Deck Update
The Sega Game Gear, a pioneering handheld console, now finds a new home on the Steam Deck thanks to EmuDeck. This guide ensures a smooth and optimized gaming experience. Recent updates recommend using Power Tools via Decky Loader for peak performance.
Before Installing EmuDeck
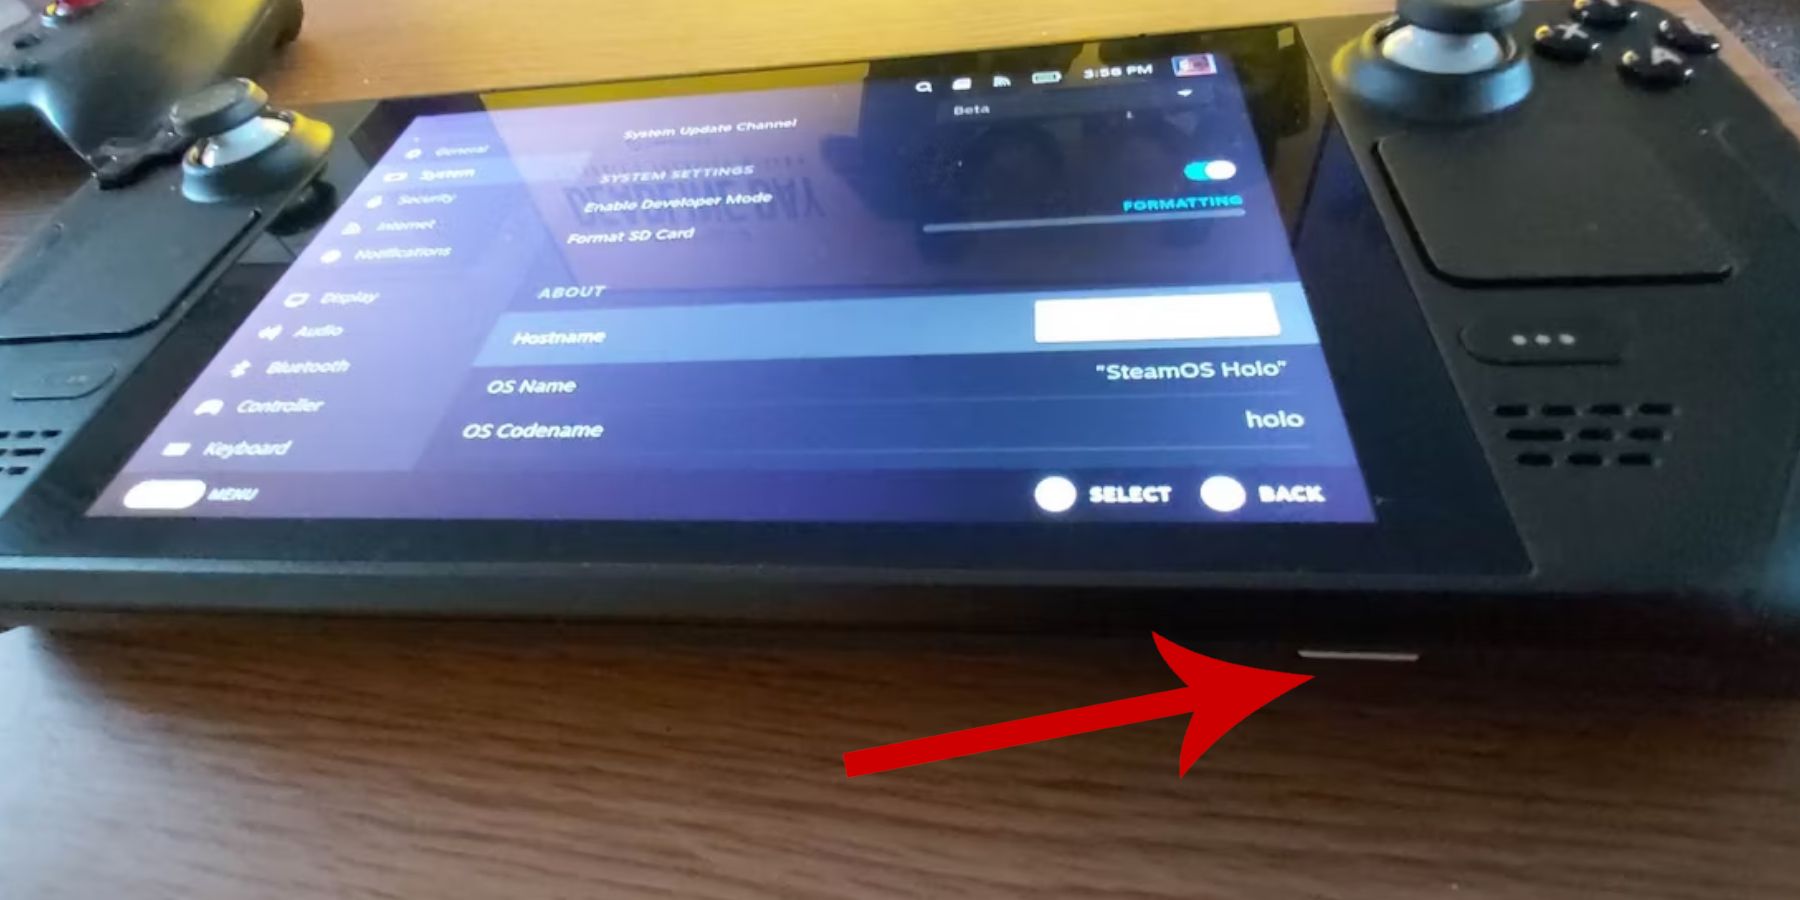 Prepare your Steam Deck with these essential steps:
Enable Developer Mode:
- Press the Steam button.
- Navigate to the System menu.
- In System Settings, enable Developer Mode.
- Access the new Developer menu.
- Under Miscellaneous, enable CEF Remote Debugging.
- Restart your Steam Deck.
Recommended Items:
- A2 MicroSD card (or external HDD) for storing ROMs and emulators.
- Keyboard and mouse (optional, but highly recommended for easier file management).
- Legally obtained Game Gear ROMs (copies of games you own).
Installing EmuDeck on the Steam Deck
 Let's install EmuDeck:
- Switch to Desktop Mode.
- Open a web browser and download EmuDeck.
- Choose the SteamOS version and select Custom Install.
- Select your SD card as the primary installation location.
- Choose your desired emulators (RetroArch, Emulation Station, Steam ROM Manager are recommended).
- Enable Auto Save.
- Complete the installation.
Quick Settings (within EmuDeck):
- Ensure AutoSave is enabled.
- Enable Controller Layout Match.
- Set Sega Classic AR to 4:3.
- Turn on LCD Handhelds.
Transferring Game Gear ROMs and Using Steam ROM Manager
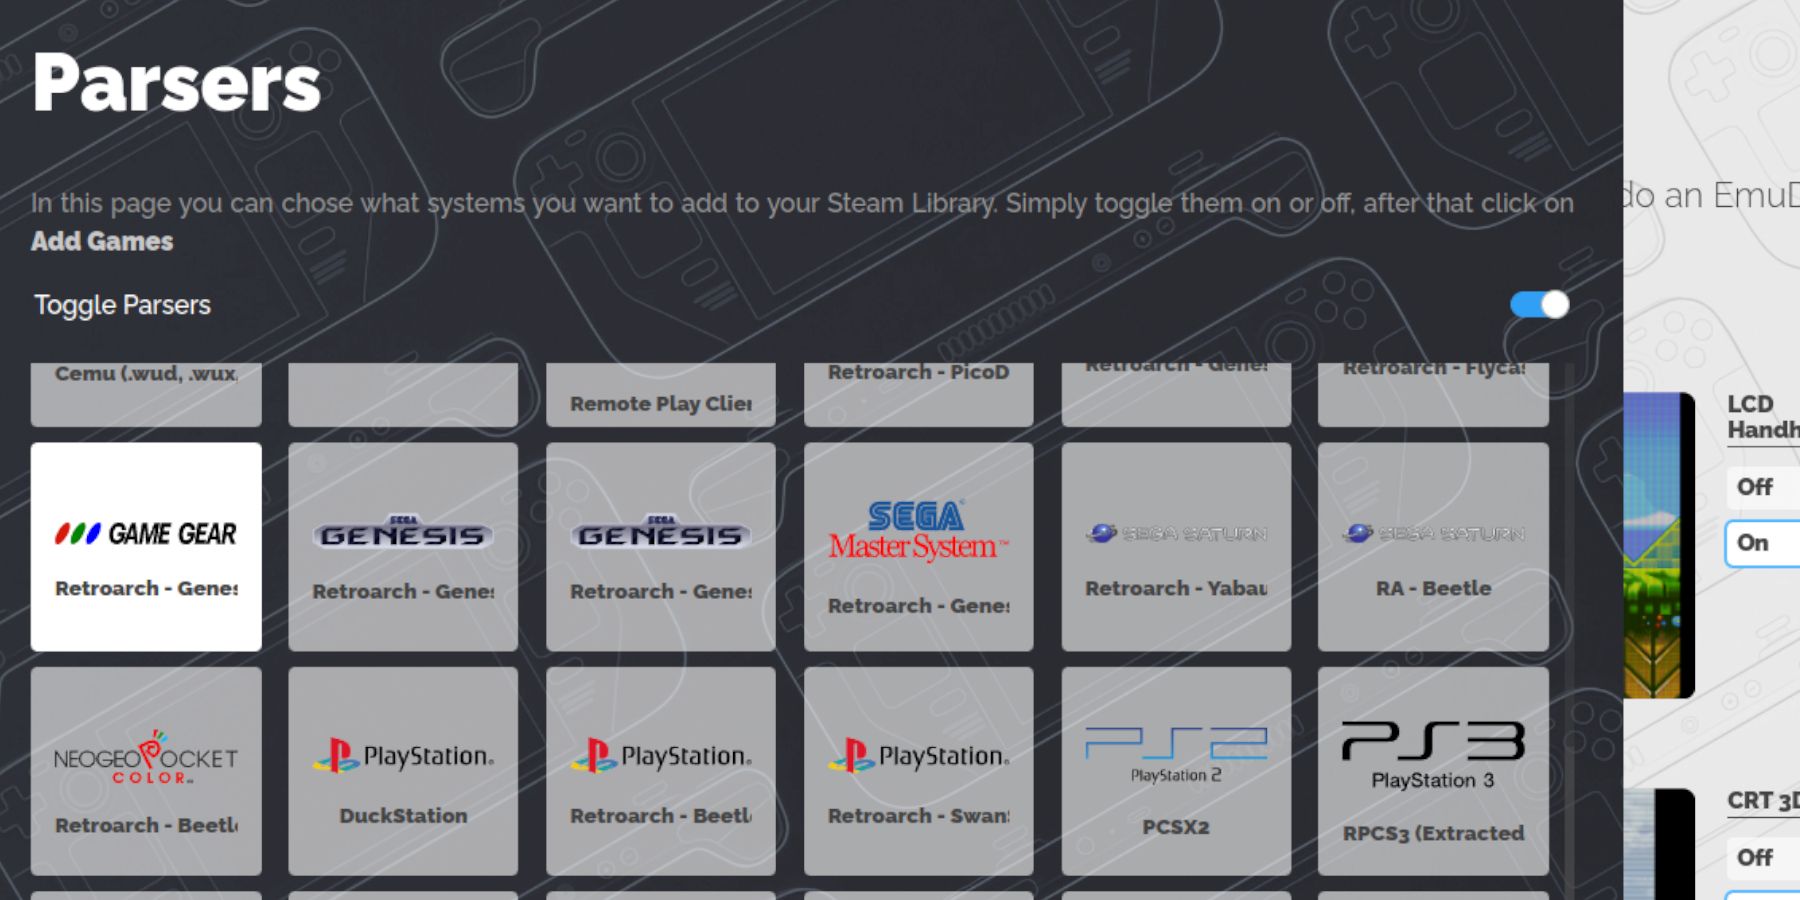 Add your games:
Transfer ROMs:
- In Desktop Mode, use Dolphin File Manager to navigate to your SD card's
Emulation/ROMs/gamegearfolder. - Transfer your Game Gear ROMs into this folder.
Steam ROM Manager:
- Open EmuDeck and launch Steam ROM Manager.
- Close the Steam Client when prompted.
- Select the Game Gear icon.
- Add your games and parse them.
- Verify artwork and save to Steam.
Resolving Missing Artwork in EmuDeck
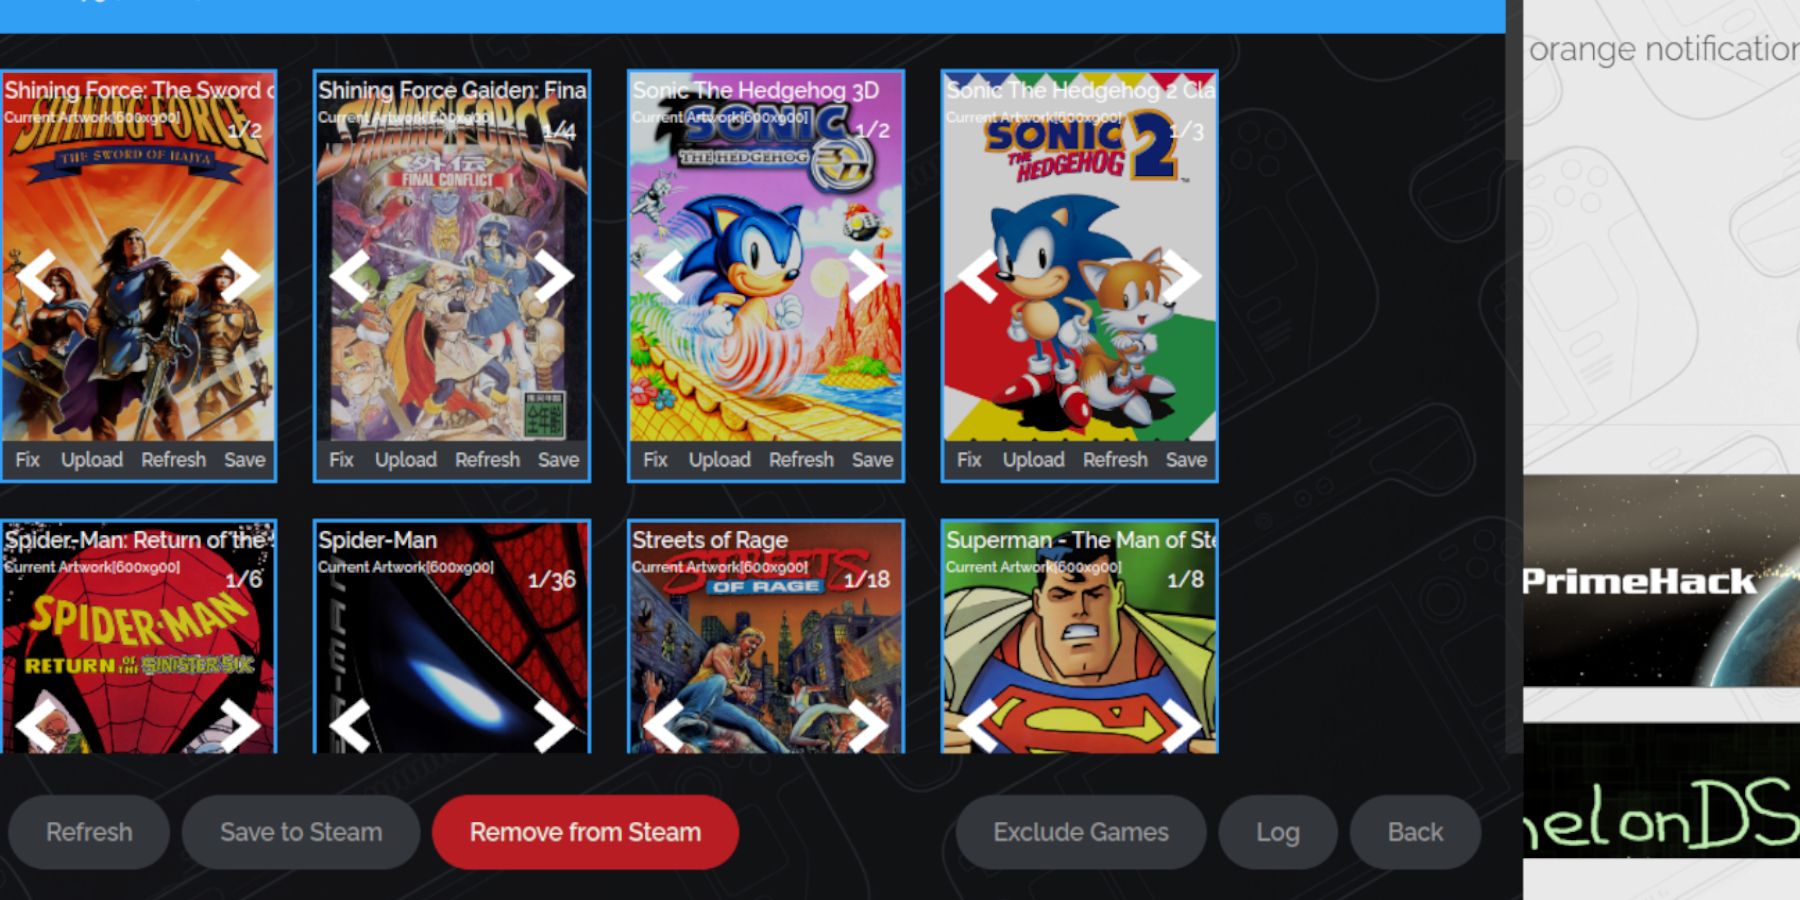 Fix missing or incorrect artwork:
- Use the "Fix" function in Steam ROM Manager, searching by game title.
- Remove any numbers preceding game titles in ROM filenames, as this can interfere with artwork detection.
- Manually upload missing artwork via the Steam ROM Manager's upload function, using images saved to your Steam Deck's Pictures folder.
Playing Game Gear Games on the Steam Deck
- Switch to Gaming Mode.
- Access your Library and the Collections tab.
- Select your Game Gear game and play.
Performance Settings (QAM > Performance):
- Enable "Use per-game profile."
- Increase "Frame Limit" to 60 FPS.
Installing Decky Loader on the Steam Deck
 Install Decky Loader for enhanced control:
- Switch to Desktop Mode.
- Download Decky Loader from its GitHub page.
- Run the installer and choose Recommended Install.
- Restart your Steam Deck in Gaming Mode.
Installing the Power Tools Plugin
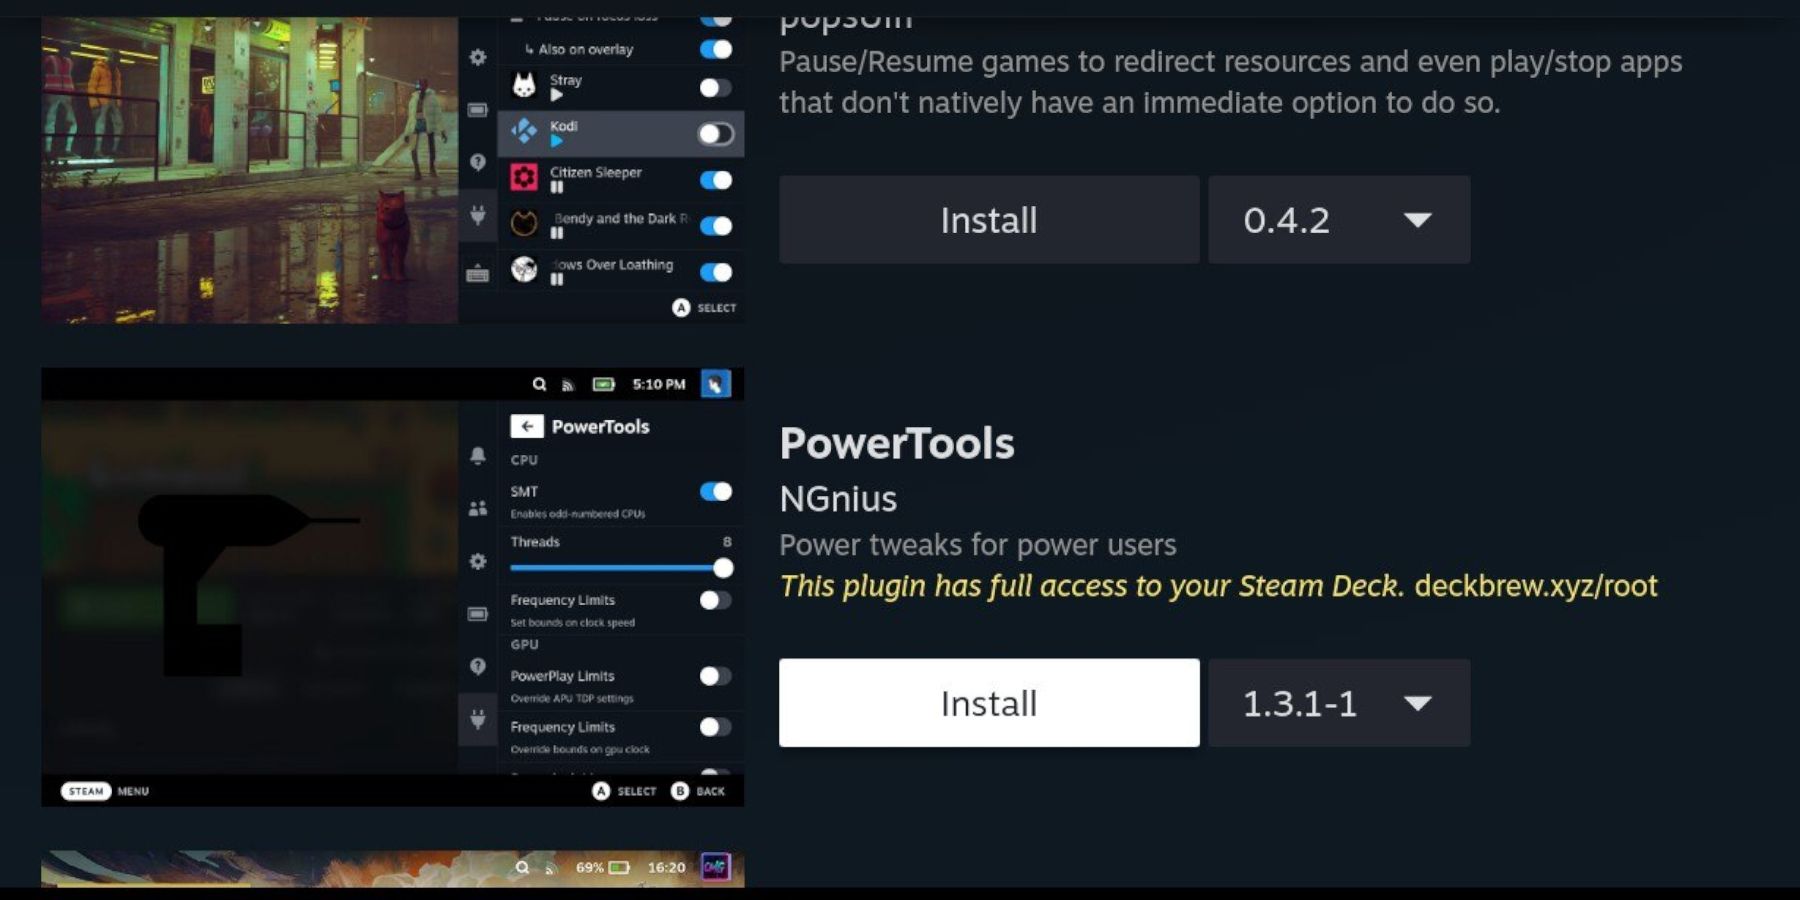 Install and configure Power Tools:
- Access Decky Loader via the QAM.
- Open the Decky Store and install the Power Tools plugin.
- Within Power Tools, disable SMTs, set Threads to 4, enable Manual GPU Clock Control, and set GPU Clock Frequency to 1200. Enable Per Game Profile.
Troubleshooting Decky Loader After a Steam Deck Update
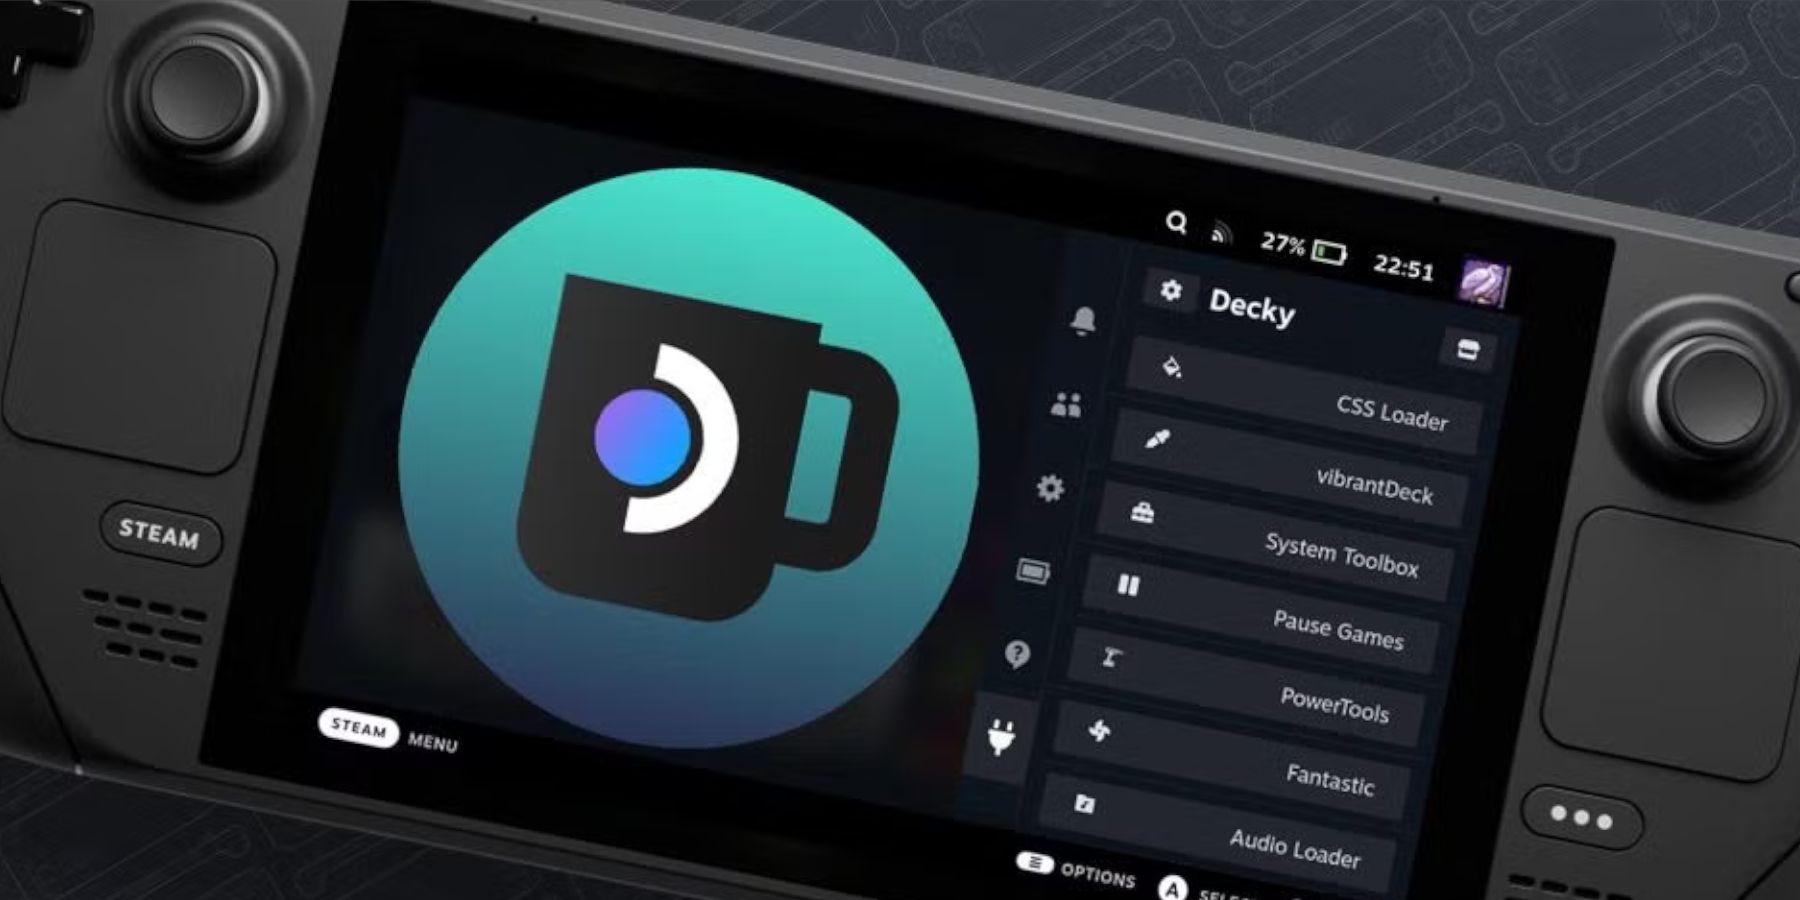 Restore Decky Loader after a Steam Deck update:
- Switch to Desktop Mode.
- Re-download Decky Loader from GitHub.
- Run the installer (select "Execute," not "Open").
- Enter your sudo password.
- Restart your Steam Deck in Gaming Mode.
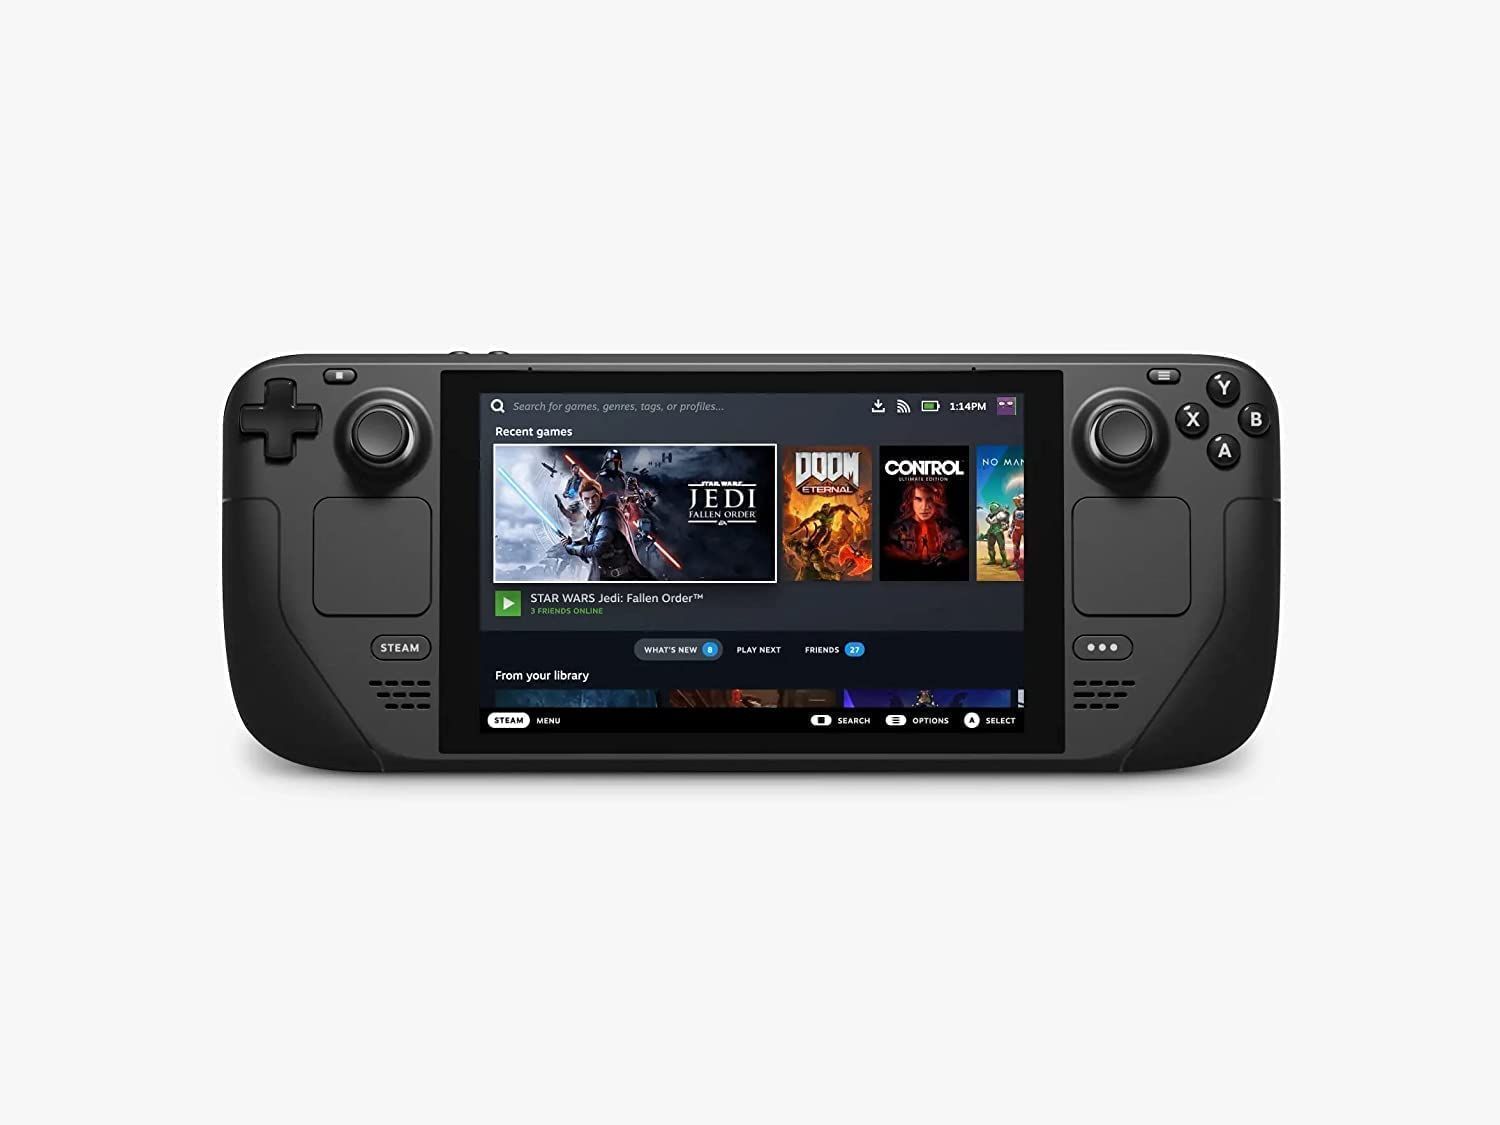 Enjoy your Game Gear games on your Steam Deck!

